Fixing the Master Bath in Wellington, Florida
We bought an (almost) new, expensive house in Palm Beach county, South Florida …
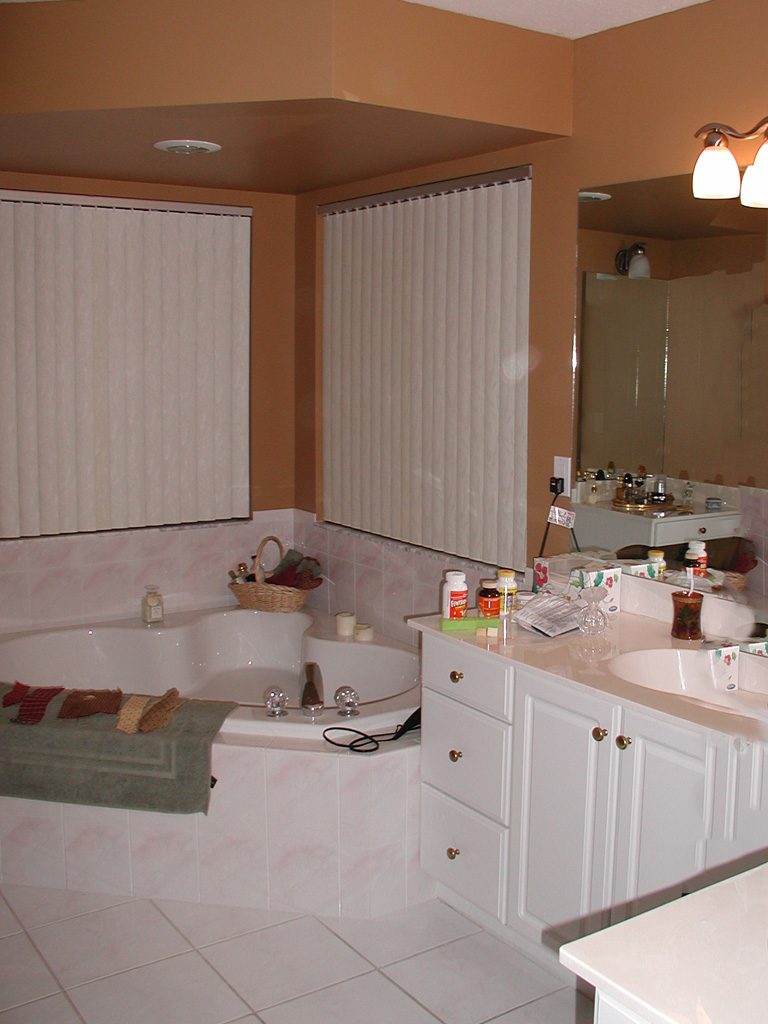
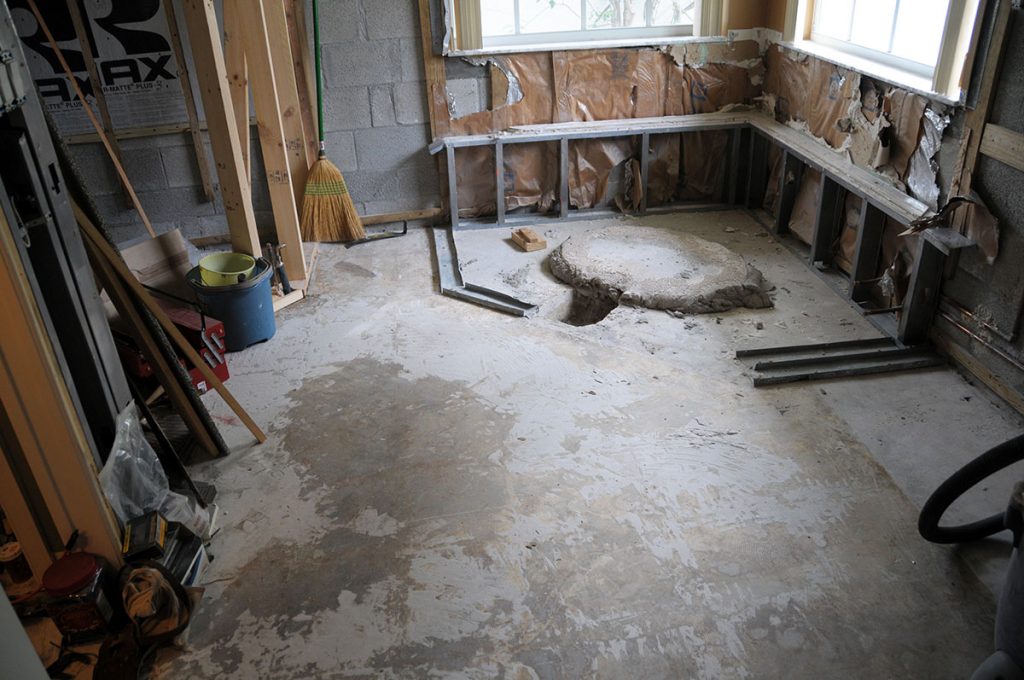
So why did I rip out the Master Bathroom?
- Particle-board cabinets were “Kiddie-Height” and falling apart
- Poor water pressure and pipes rattled
- Shower door and frame were loose
- Insulation was so bad you would sweat while standing under the A/C vent
- Hideous PINK tiles
- Crappy Builder-Grade workmanship
Watch any popular TV show about houses and the typical buyer complains about the color or size. Never asks if the underlying structure will last.
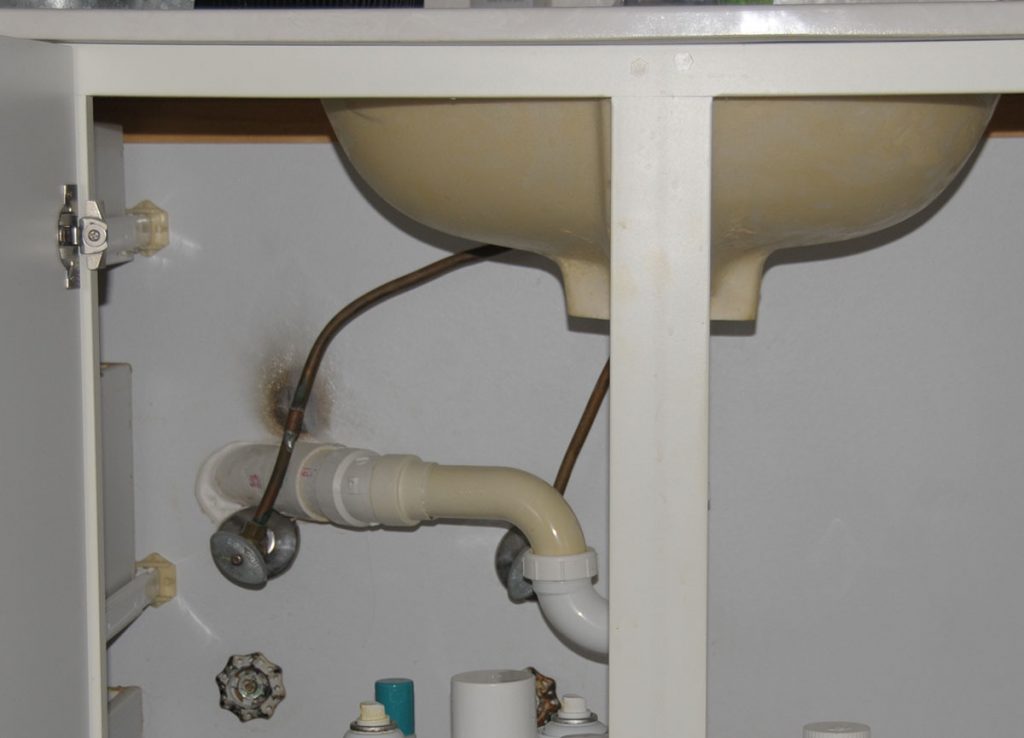
How do you like the Professional Solder Job under the sink?
He didn’t care enough to protect the customer’s sink! That is not a stain, that is the burned wood of the cabinet.
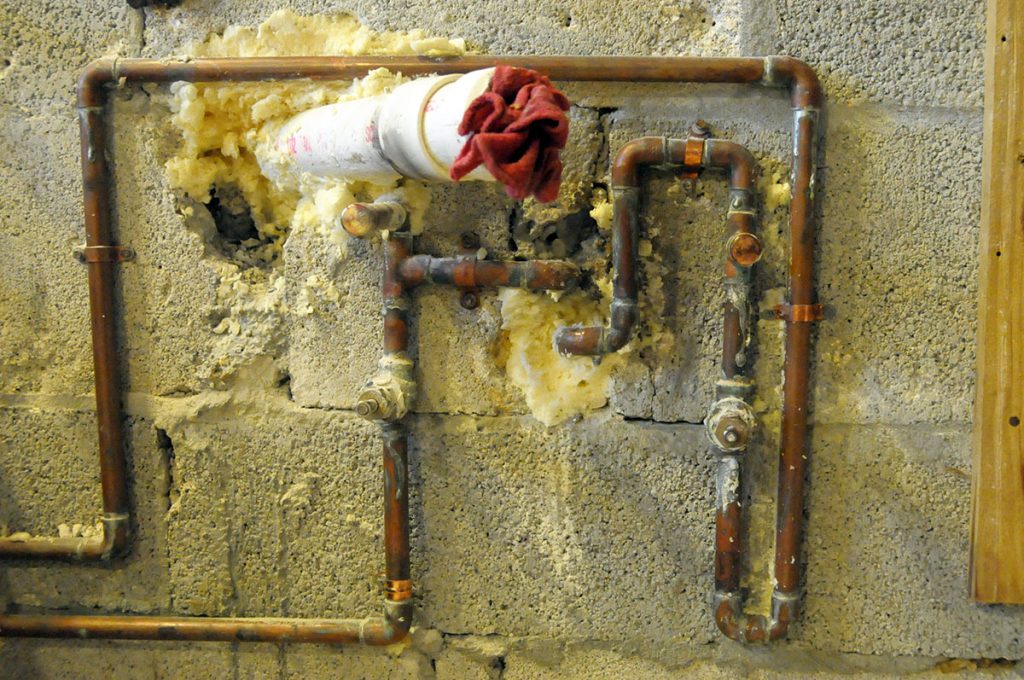
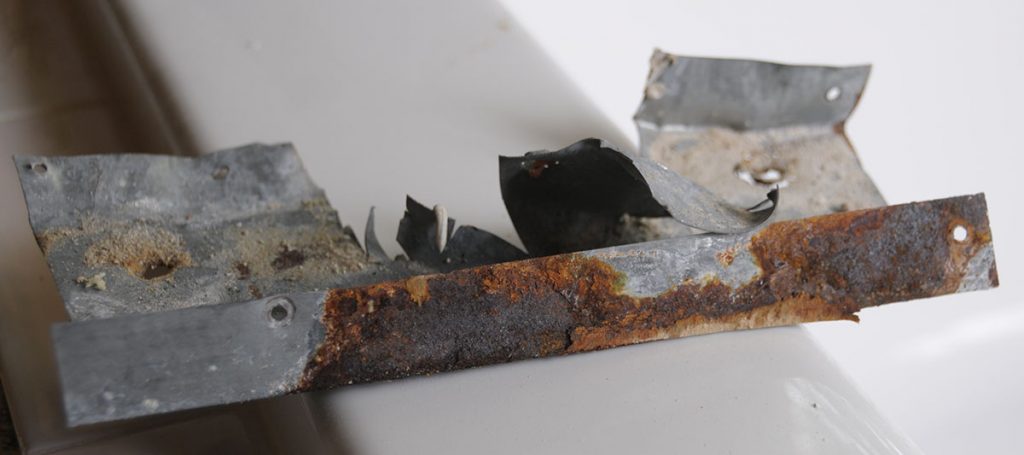
But look what I found BEHIND that sink…
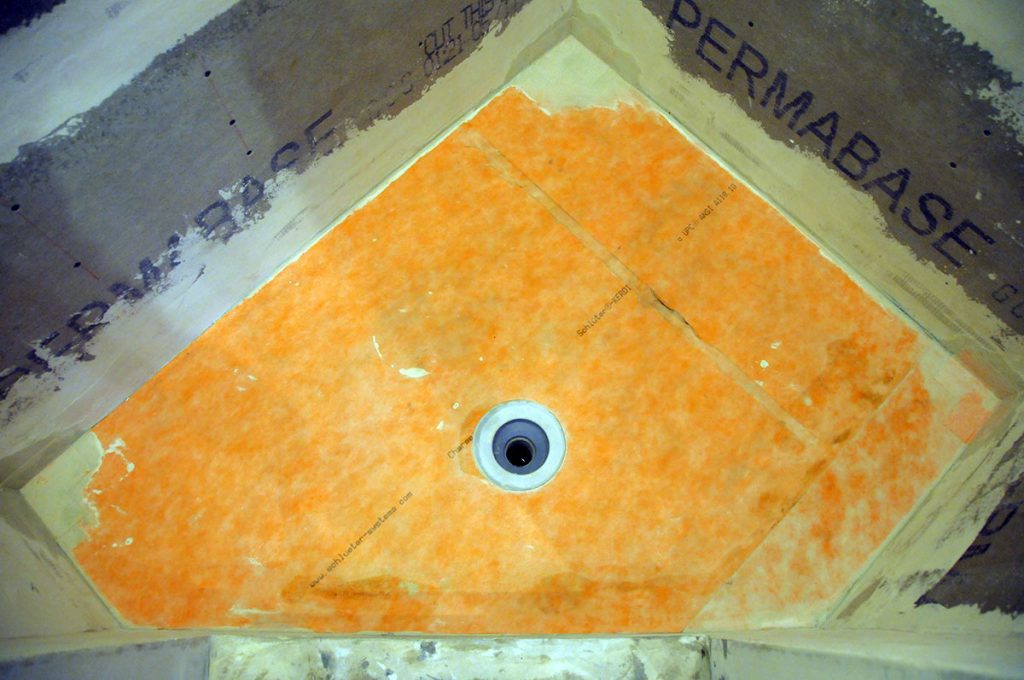
To waterproof the shower, I’m using the Schlüter system from Germany. The various parts fit together to ensure a leak-proof shower.
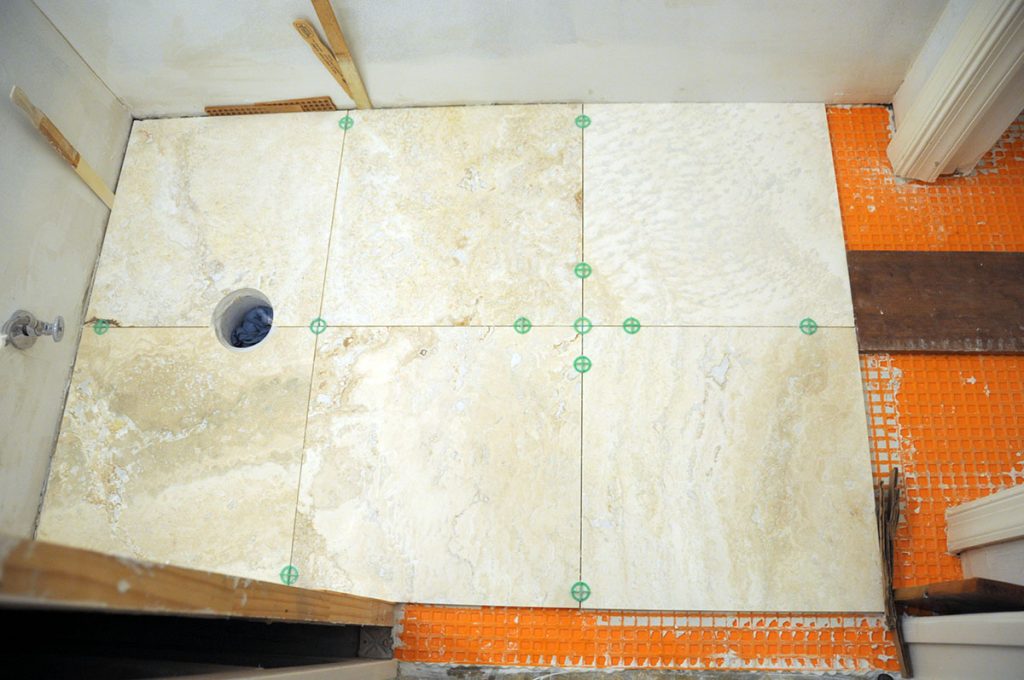
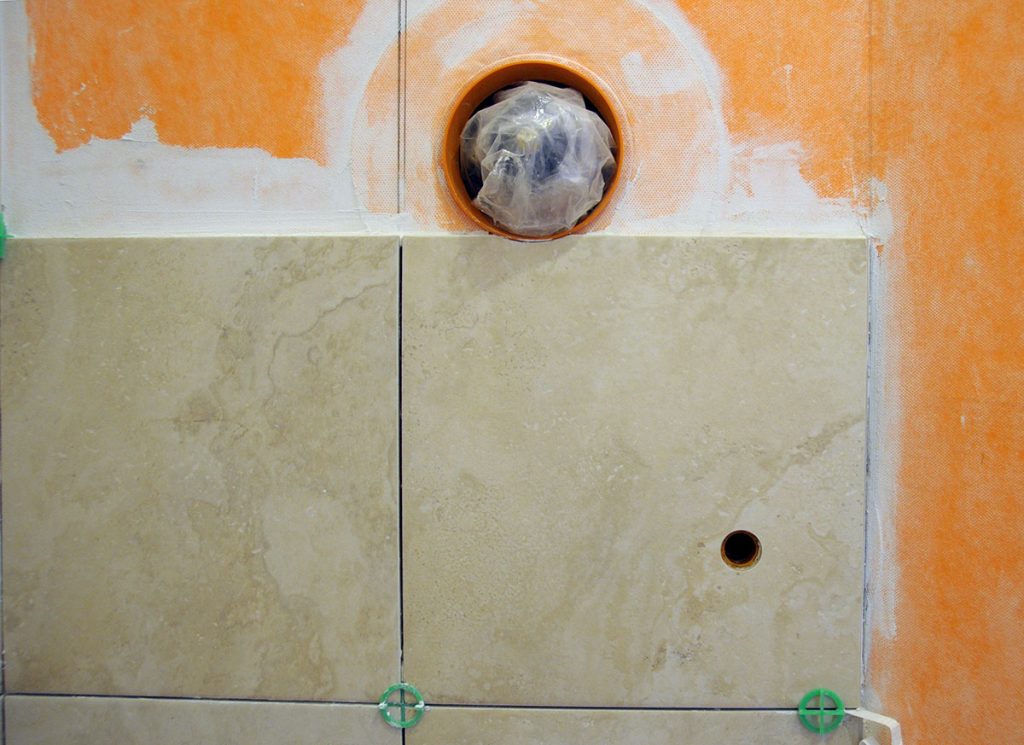
This orange membrane, called Kerdi, is applied with thinset mortar. Even the center drain has a surrounding flange that is mortared to the membrane.
Walls and ceiling get covered, too.
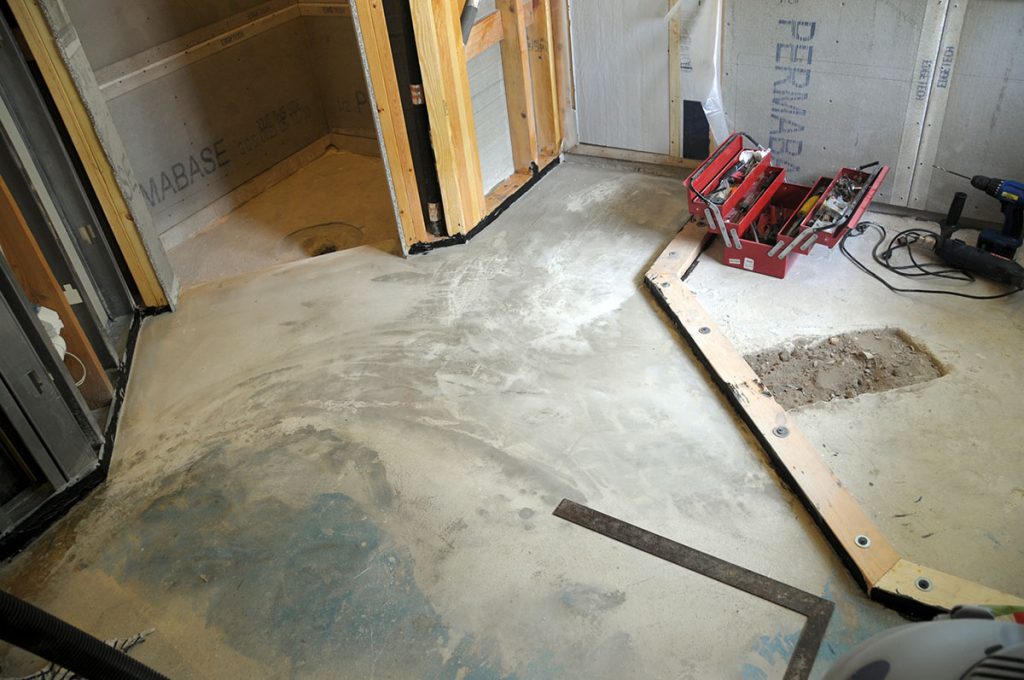
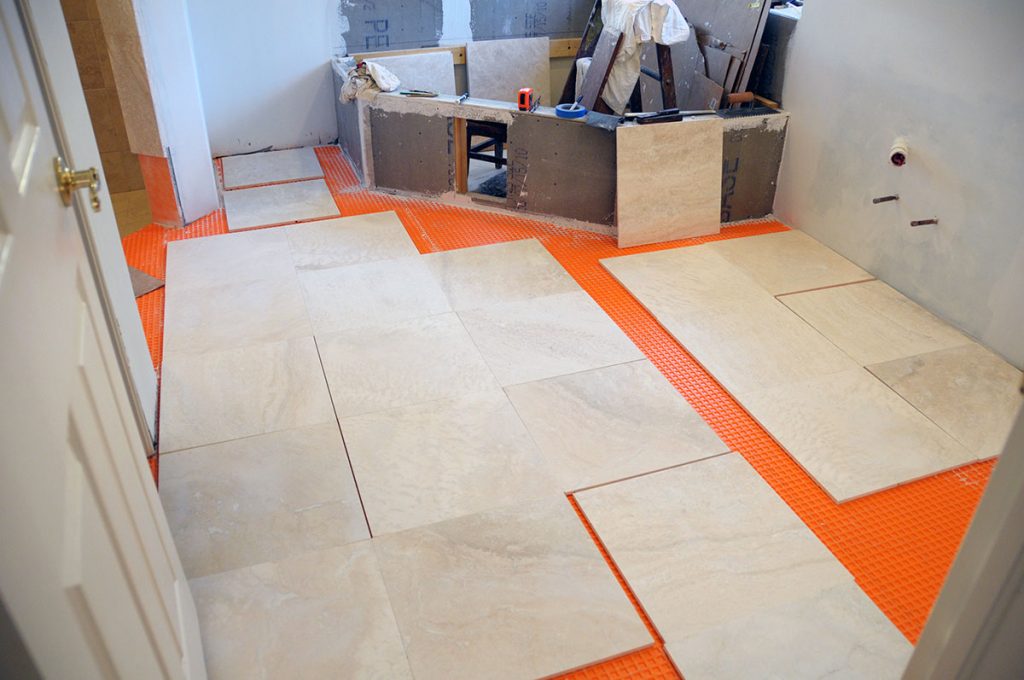
The concrete floor gets covered with Ditra. This forms an isolation barrier between the concrete and the Travertine. If the concrete cracks, Ditra prevents the damage from spreading to the stone and your expensive floor won’t crack.
We laid the tiles out on the dry floor and arranged them to find a flowing pattern for best appearance. Each tile then got numbered on a map and then mortared down in the proper position. Yes, ONLY use white mortar to prevent staining the stone!
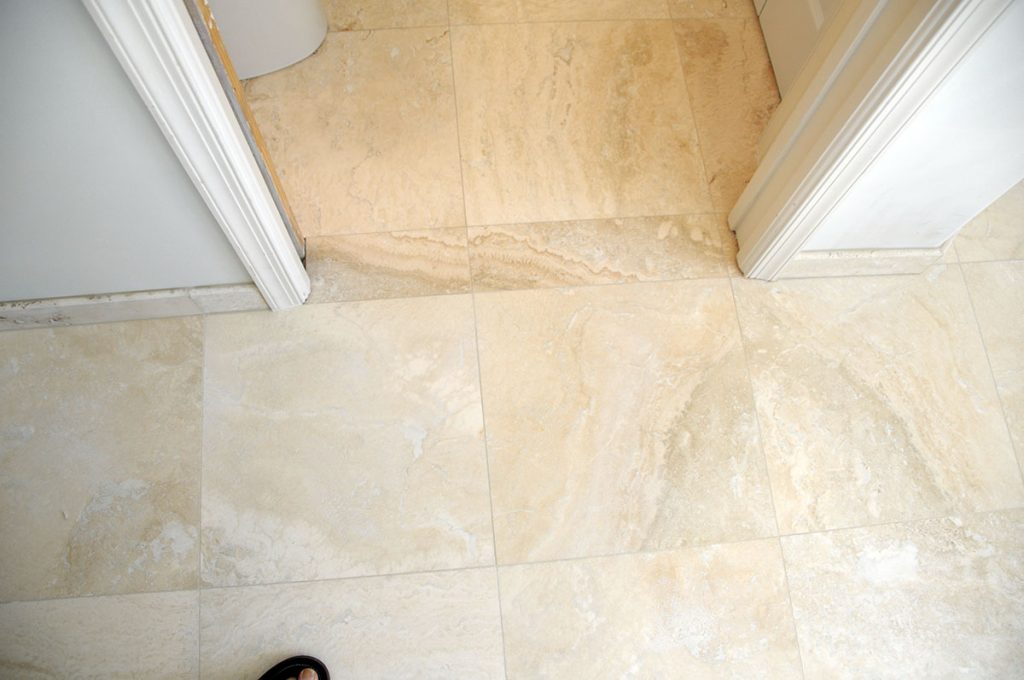
Since the entire floor is flat, I wanted to emphasize the threshold into the adjacent room, so I selected slightly darker Travertine pieces to make a distinctive but attractive delineation.
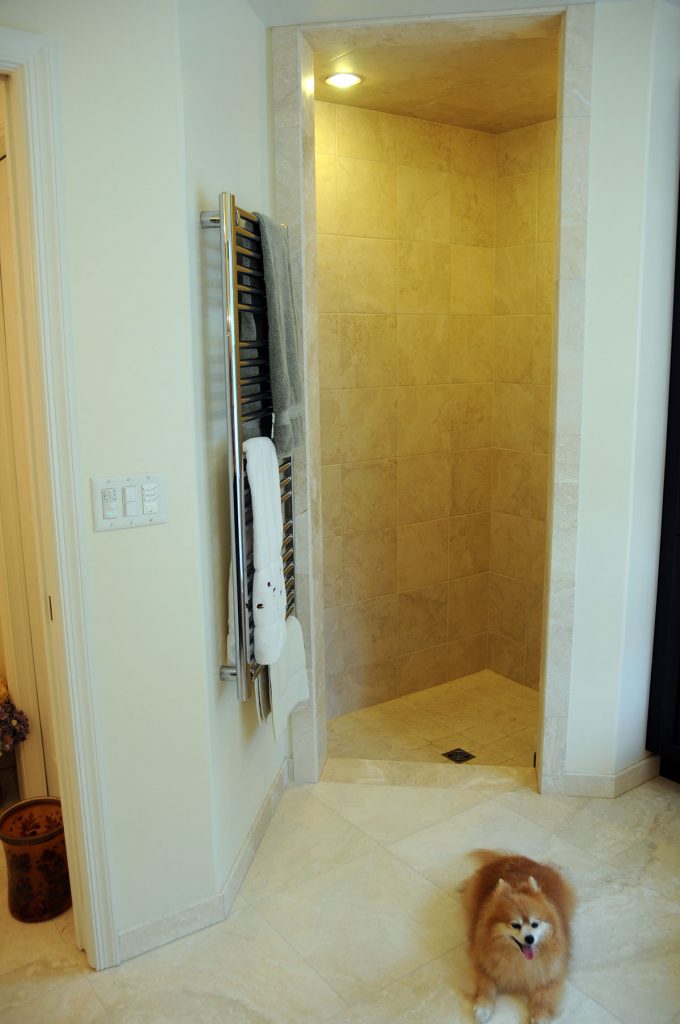
Instead of wood baseboard, I cut Travertine to the same profile. This yields an all-masonry floor. Everything is water-tight if you want to mop up the room.
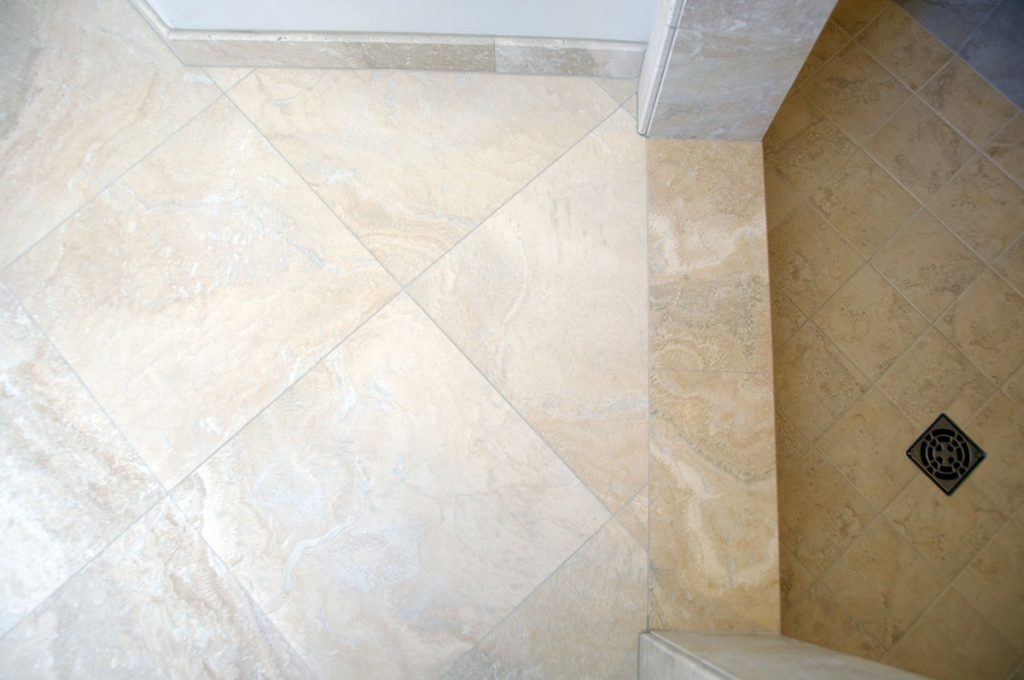
The shower is recessed from the main floor. To make this step more obvious, I selected darker pieces of stone.
In Florida, there is a constant battle with humidity. In the summer, it’s common to shower multiple times a day. Therefore, I chose matching Porcelain Tile for the shower.
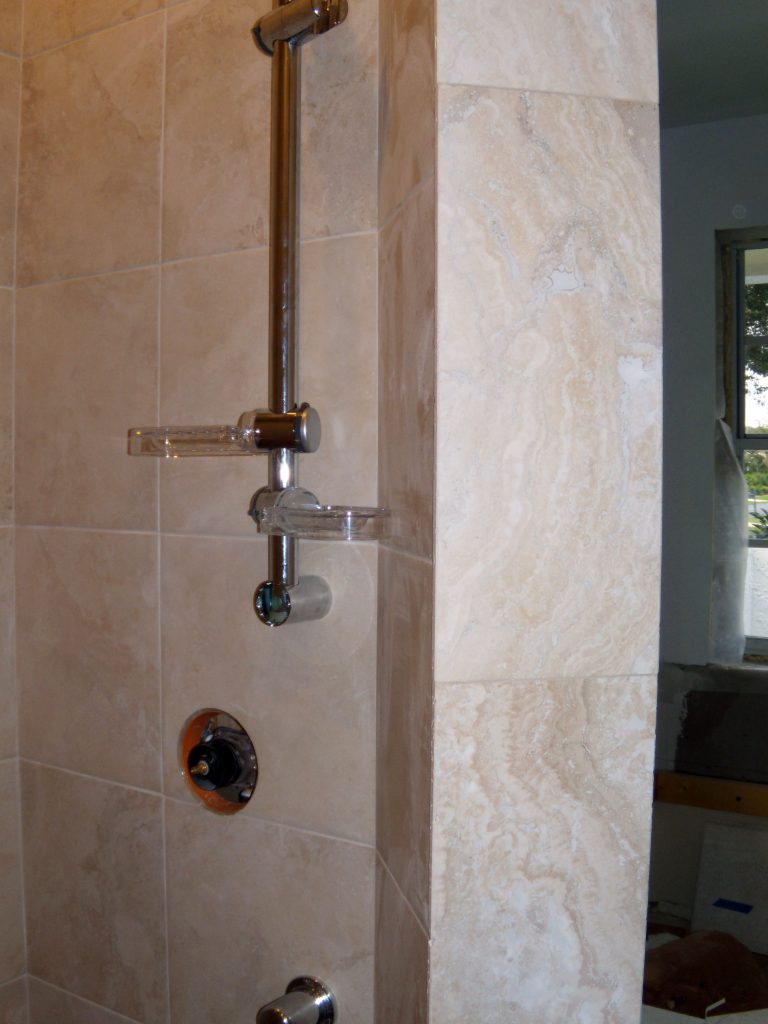
The high quality porcelain looked like Travertine but is more durable and requires less care than the natural stone.
On the far left you can see how well the Travertine door jamb matches the 12″ porcelain wall tiles.
Again, any place there is an opening through the waterproofing membrane, I used special rubber couplings to seal it tight.
One the electric panel there are two electronic timers. The left one controls the fan and this is not the normal NOISY bathroom fan. Instead, I installed an axial-type mounted up in the attic … You cannot hear it running!
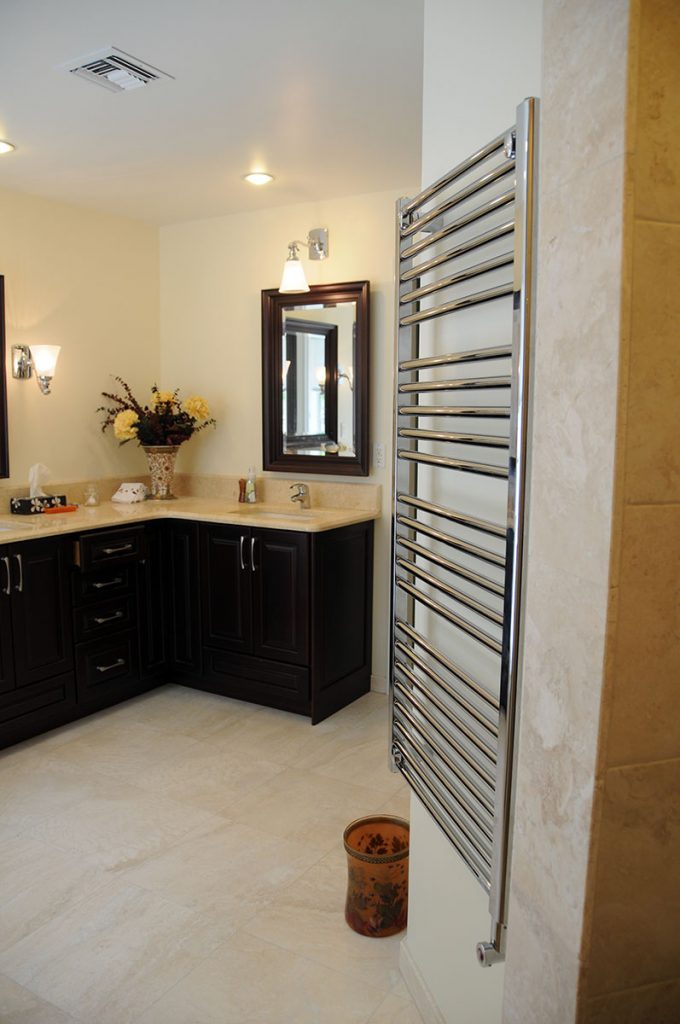
The other timer controls the heated Towel bar. Touch a button and the damp towels get dried.
In the shower, there are TWO ceiling lights to avoid shadows. Do not know why this is not done everywhere.
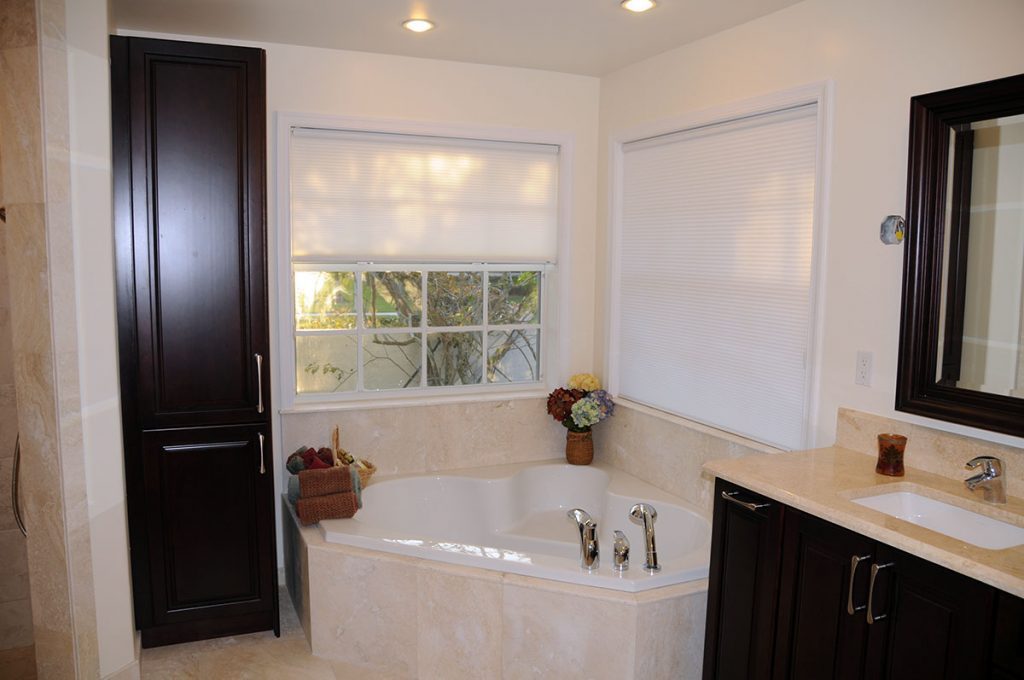
All Done (except for hanging the one lamp). Countertops are natural marble.
Cabinets are “Adult Height”, that is 6″ higher than the previous ones. Your back will thank you.
In case you are wondering how to get to the tub plumbing… Two of the stones in the tub surround are held in only with caulk so they can be removed.
